 Download this page as an activity sheet (pdf, 133KB). Download this page as an activity sheet (pdf, 133KB).
Soapy Science
In this activity, you can:
How do detergents work?

Soaps and detergents are made from long molecules that contain a head and tail.
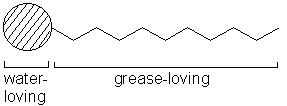
These molecules are called surfactants; the diagram below represents a surfactant molecule.

The head of the molecule is attracted to water (hydrophilic) and the tail is
attracted to grease and dirt (hydrophobic). When the detergent molecules meet grease
on clothes, the tails are drawn into the grease but the heads still sit in the water.
The attractive forces between the head groups and the water are so strong that the
grease is lifted away from the surface. The blob of grease is now completely surrounded
by detergent molecules and is broken into smaller pieces which are washed away by
the water. You can find out more about how detergents work here.
The detergent molecules also help to make the washing process more effective by
reducing the surface tension of the water. Surface tension is the force which helps
a blob of water on a surface hold its shape and not spread out. The surfactant
molecules of the detergent break apart these forces and make water behave, well, wetter!
Back to the top.
Making bubbles

Bubbles and soap films are made of a thin layer of water, sandwiched between two
layers of soap molecules. You can make giant bubbles by mixing these ingredients together:
- 1 litre of water (distilled is preferable, but tap water will do),
- 15 ml good quality washing-up liquid (we used Fairy),
- 10 ml glycerol/glycerine (from your supermarket's cake-baking section).
Once you've made your bubble solution, you can try our four experiments!
Experiment 1
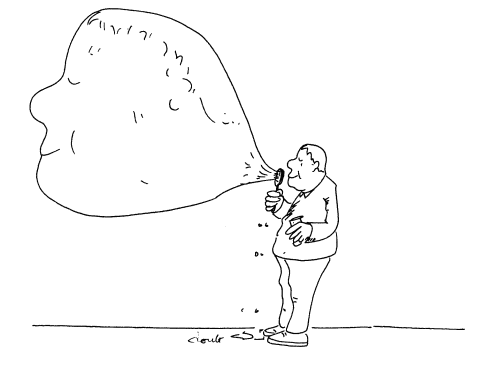
Use your hands to make a hoop-shape. Dip them in the bubble
solution and blow gently but firmly. Using this method you should be able to blow
bubbles up to about 60 cm in diameter!
Experiment 2
Dryness not sharpness breaks bubbles. Blow a large bubble then try putting your fingers inside it. If your hand is wet you can touch and even place your hand inside the bubble without bursting it! A soap bubble is only 1/500,000th of a centimetre thick as it starts to pop!
Experiment 3
Make a large hoop of string about 1 metre in diameter and tie 4 small loops at the corners to make handles. Dip this into the soap solution and with a friend pull the handles apart to form a giant soap film. Trying shaking one end and watch the wave travel along the film.
Experiment 4
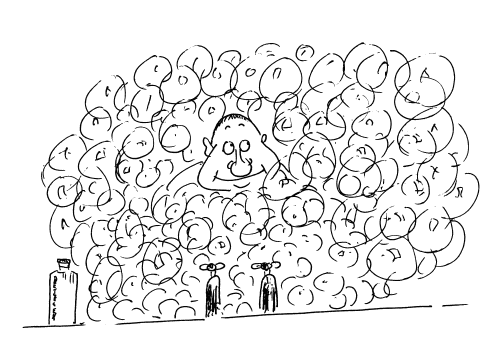
Now try and make a bubble dome, like our diagram below.

Wet a tray or the kitchen work-surface with your bubble solution. Using a straw, blow a large bubble. Push the straw through the original bubble and blow a smaller one inside. See how many smaller bubbles you can make!
Back to the top.
Exploring surface tension

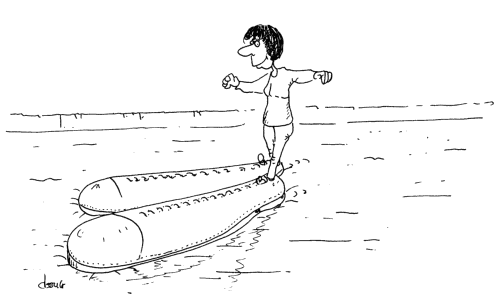
"The introduction of the Dr. Marten size 338 finally allowed Annie to walk on water"
Water has many unusual properties, one of which is the phenomenon of surface tension.
As we said earlier, surface tension is the force that prevents a blob of water on a surface from spreading out. Surface tension allows pond skaters and other insects to walk across water and also allows a pin to float.
You can demonstrate this yourself by taking a bowl of water and floating a pin on the surface. Carefully add just one drop of washing-up liquid and see what happens to the pin. It should sink immediately because the detergent molecules break apart the forces holding the water together. The pin is no longer supported and so sinks to the bottom!
Back to the top.
Measuring surface tension – the Button Balance
You can measure surface tension yourself by making your own button balance, like the one used by the famous nineteenth century home experimentalist, Agnes Pockels. You will need:
- a lollystick,
- some nylon thread,
- a button,
- some plasticine,
- some graph paper,
- a piece of card,
- a container to hold the liquid to be tested.
Here's how to build your button balance:

You can set up the balance in one of two ways, as shown in the diagram above. You'll soon find out which one works best for you. The lollystick is used for the lever and the nylon thread has the advantage of not soaking up water and influencing the balance. The piece of card can be suspended from the lollysick with the nylon thread to act as a counterbalance pan. Small squares of graph paper can be used as weights – you can weigh a large number of whole graph paper sheets and work out from this what each small square weighs. To use your balance:
- Balance the lever before you start, for example by sticking a piece of plasticine on the lollystick.
- Raise your container of liquid up carefully so that the button (rim downwards) settles gently onto the surface. You should notice the lever tip towards the liquid.
- Depending on which design you have used, you either add small weights to the counterbalance pan or slide the counterbalance along gradually until the point where the button comes off the liquid surface. You can try to put the button back on the liquid surface just to check that it is the weight that has pulled the button off rather than the act of dropping the weight into the counterbalance pan
(or sliding the counterbalance).
- For each measurement, you can record the number of squares of paper required to remove the button from the liquid surface (or, convert this to an actual weight), or record the position of the sliding
counterbalance along the graduated lever. Try repeating your experiment to see how close together the measurements are. How accurate do you think your balance is?
With your button balance, try measuring the surface tension of a range of liquids and comparing them. For example: cold water, salt water, warm water and soapy water. You can also try changing the size of the button used or the material it is made out of. | 
