|
|
A Guide to Mercury
Topics covered in this
guide: Basic
functions, viewing planes, expanding (packing) and slicing structures, and
generating a powder pattern.
To
zoom in and out of the structure, hold the right mouse button down
while moving the mouse. To rotate the structure, hold the left mouse
button down while moving the mouse. The style drop down box can be
used to change between wireframe, capped sticks, balls and sticks, and
spacefill views. To pack the structure into a cell, check the box labelled packing
in the display area (bottom left).
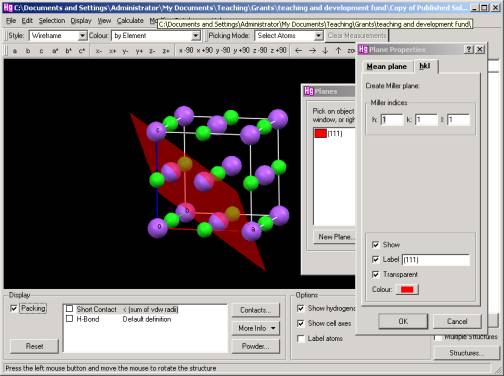
To view a specific plane go
to calculate > planes. The following box should appear:
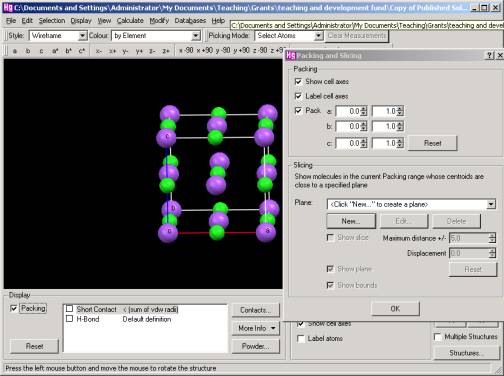
Expanding
(packing) and Slicing structures If you want to see more of the structure than is currently on view or view slices of the structure go to calculate > packing/slicing. Drag the pop up box away from the view of the structure. Increasing the packing boundaries (measured in unit cells) increases the amount of the structure on view. You can manipulate the structure without needing to close the pop up box.
To
slice the structure click new and enter the lattice plane to be cut
(using hkl or three atoms that define a plane). Check the show slice box.
(the bounds are a bit difficult to see because they are dark (maybe change
the background colour)). Using the maximum distance box you can choose
the thickness of the slice. Using the displacement box you can choose
the position of the centre of the slice.
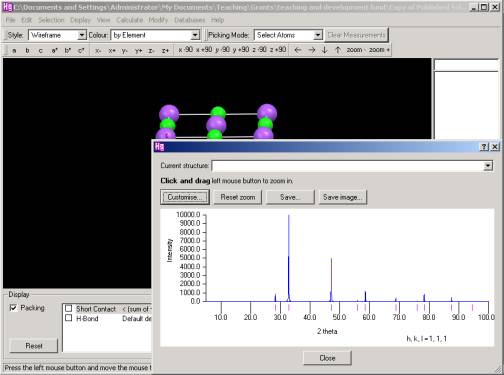
Go
to calculate > powder pattern. You can choose the 2 theta
range by clicking the customise button. Placing the cursor over any
peak will display an hkl value in the bottom right corner.
|
|
|
|